Thursday, 8 December 2011

holiday how - to #4 owlies grotto

Firstly, do not adjust your monitor or run off to specsavers for an eyetest.......these photos are blurred!! my only excuses are.... the light was very bad and my camera couldn't cope and that I was so giddy making this that I couldn't wait to get on with it and rushed the pics.....

to make a little christmas grotto you will need
* small cereal boxes
*glue
*papers,sticky back plastic,tinsel,old christmas cards,fabric scraps,trims
*scissors

-First you will need to follow the instructions on how to make a bird house tutorial -  here..

- instead of cutting a little round hole, make a bigger door shaped hole at the front


- take your papers and sticky back plastic and start sticking :) do not worry about being all neat and tidy, the wonkyness adds to its charm

-glue fabrics to the inside

-stick on the tinsel, christmassy pictures...anything you can find..the more the merrier :)


 - pop your little owlie in her new home....
......note this grotto is not exclusive to little owls......small deer, birds or gnomes might like it too...


- you can make this bigger by using full sized cereal boxes or tiny by using matchboxes...


....now a little question before I go...what would you do?


......the other week when searching for fabrics to make more messenger bags I came across these lovely curtains..... vintage Sanderson with Laura Ashley linings


they are really beautiful and in lovely condition, they even came in their own maartje style suitcase


my question is ...would it be really terrible to chop these up to make bags and cushions or should I keep them and find a window to hang them in???

happy... (grey and rainy)  thursday 
x x x x x x x 


Monday, 5 December 2011

holiday how - to #3 hanging owlies


 cute little felt owls for hangin' on your tree or anywhere and the best bit is... like dogs they are not just for Christmas:)

to make a few of these you will need

* felt in several colours
*embroidery threads in a few nice colours
*buttons
*ribbon
*stuffing (you can use scraps of fabric to stuff or you could do what I do which is to secretly attack the nearest cushion and pinch a bit of stuffing)...

use this pattern as a guide to cut out the owls, you will need 2 of each shape (except the beak) for each owl


- sew all the features onto the top body piece - eyes ...beak...wings with your favourite stitch or stitches if like me you have a few :)

-take the back body piece and start to sew the back and front together using blanket stitch

-sew in the ribbon loop as you go along the top in between the ears, make sure its well sewn in


- when you get to the bottom, leave a gap and push in a little stuffing, not too much just enough to give a rounded shape and then continue to blanket stitch 'till it is all sewn up


- add the button
 x
I have made these for little Christmas presents, so I have packed them up in a bag with a bit of vintage wallpaper,
my boys (10 and 9 ) have had a go at these and they have managed pretty well with simpler stitches so it could be a good little crafty afternoon activity and you can resort to glue as I did if the stitching gets a  bit much.


I have drifted from my path of be 'prepared for christmas' by distractions of an impending school trip and horrible surgery on a tooth -  stitches and a face like a hamster aren't my favourite look for the holiday season, but eating only mash potato and ice cream made it bearable :)

Happy Monday 

x x x x x x x 


p.s I got a bit carried away and made a few too many owls, so have popped a couple in the shop :)


Thursday, 1 December 2011

holiday how - to #2 tags and labels.....

......be prepared is my motto for christmas this year so here is a quick.. how to get organised in the wrapping department :)
you will need..

*white card
*tags/labels
*hole punch
*twine/ribbon
*ink pad
*any christmas stamps


you just need to cut the card up into small rectangles to be folded in half for little gift tags,
long rectangles with holes punched in the end for swing tags,
A5 card size pieces to be folded in half for little thankyou notes


 any size stickers are good for labelling
just stamp away with your Christmas stamps 'till you are happy


 then just add the twine to your tags if you have made them yourself and you're all set, to wrap,stick,label and thank :)

note - most items were bought from basic stationery shops, the stamps I have collected over the years but etsy and ebay are great for these and the fab Thankyou stamp was from paperchase £2.50


 Happy 1st of December to you, we have had to have a star wars Lego advent calendar this year which is most un-christmassy so after losing our usual pocket one I ran this one up last night...using an old pillowcase and some strips of fabric, there were a few mistakes along the way ...er like not putting enough pockets on!! but it all came right in the end!


hope you're having a happy advent day :)

x x x x x x 


Tuesday, 22 November 2011

holiday how - to #1 ...vintage baubles


.........don't worry I haven't started putting up the Christmas decorations already, it's just a quick little way to spruce up some old baubles :)

a load of old baubles!

 *first you need to find some very plain old bauble shaped decorations
*next you will need some vintage decals - mine came from eBay (very easy to find just type in floral decals and something comes up)
*finally some lovely ribbon (thinner is better than very thick)
* a bit of p.v.a glue and some glitter

clean up the baubles and pop the transfers onto the front using a cloth and very hot water
(there are really good instructions on the papers that come with these transfers, but they are really easy..a bit like applying those kids tattoos)
clean up any sticky bits left behind and dab little glue dots here and there then sprinkle a bit of glitter onto the decal for a sparkly finish :)

remove the original hanging loops and replace with your lovely new ribbon,
if you are going for a collective dangly look like mine then use different lengths of ribbon....

there we go..... my first Christmas tutorial and it's only November!....I apologise if this is too early for some but I figured if you fancy a go you might need to stock up on supplies first :)
...........more simple holiday how - to's to follow soon...
PS I may have peaked too early, I have already watched Elf......but I haven't had a mince pie yet.....
honest 
x x x x x x x x

Tuesday, 15 November 2011

the first....cut.....

Days in the shed are much more fun now I have heating..... I am so at home in there, with all my things around me and being able to sew and then leave something half finished on the table is such a treat :)


...so I have been busy sewing pillow covers made from my favourite fabrics....with some of these I had to take a deep breath and close my eyes as its hard to cut into your favourite piece especially when you don't know if you will ever find anymore.....


I have been thinking long and hard about my fabric stash and my little shop and what next year may have in store.... for now though I am working on some tutorials that I would like to share...hopefully before Christmas if I have the time :)


*** new pillow covers in the shop .***

Friday, 11 November 2011

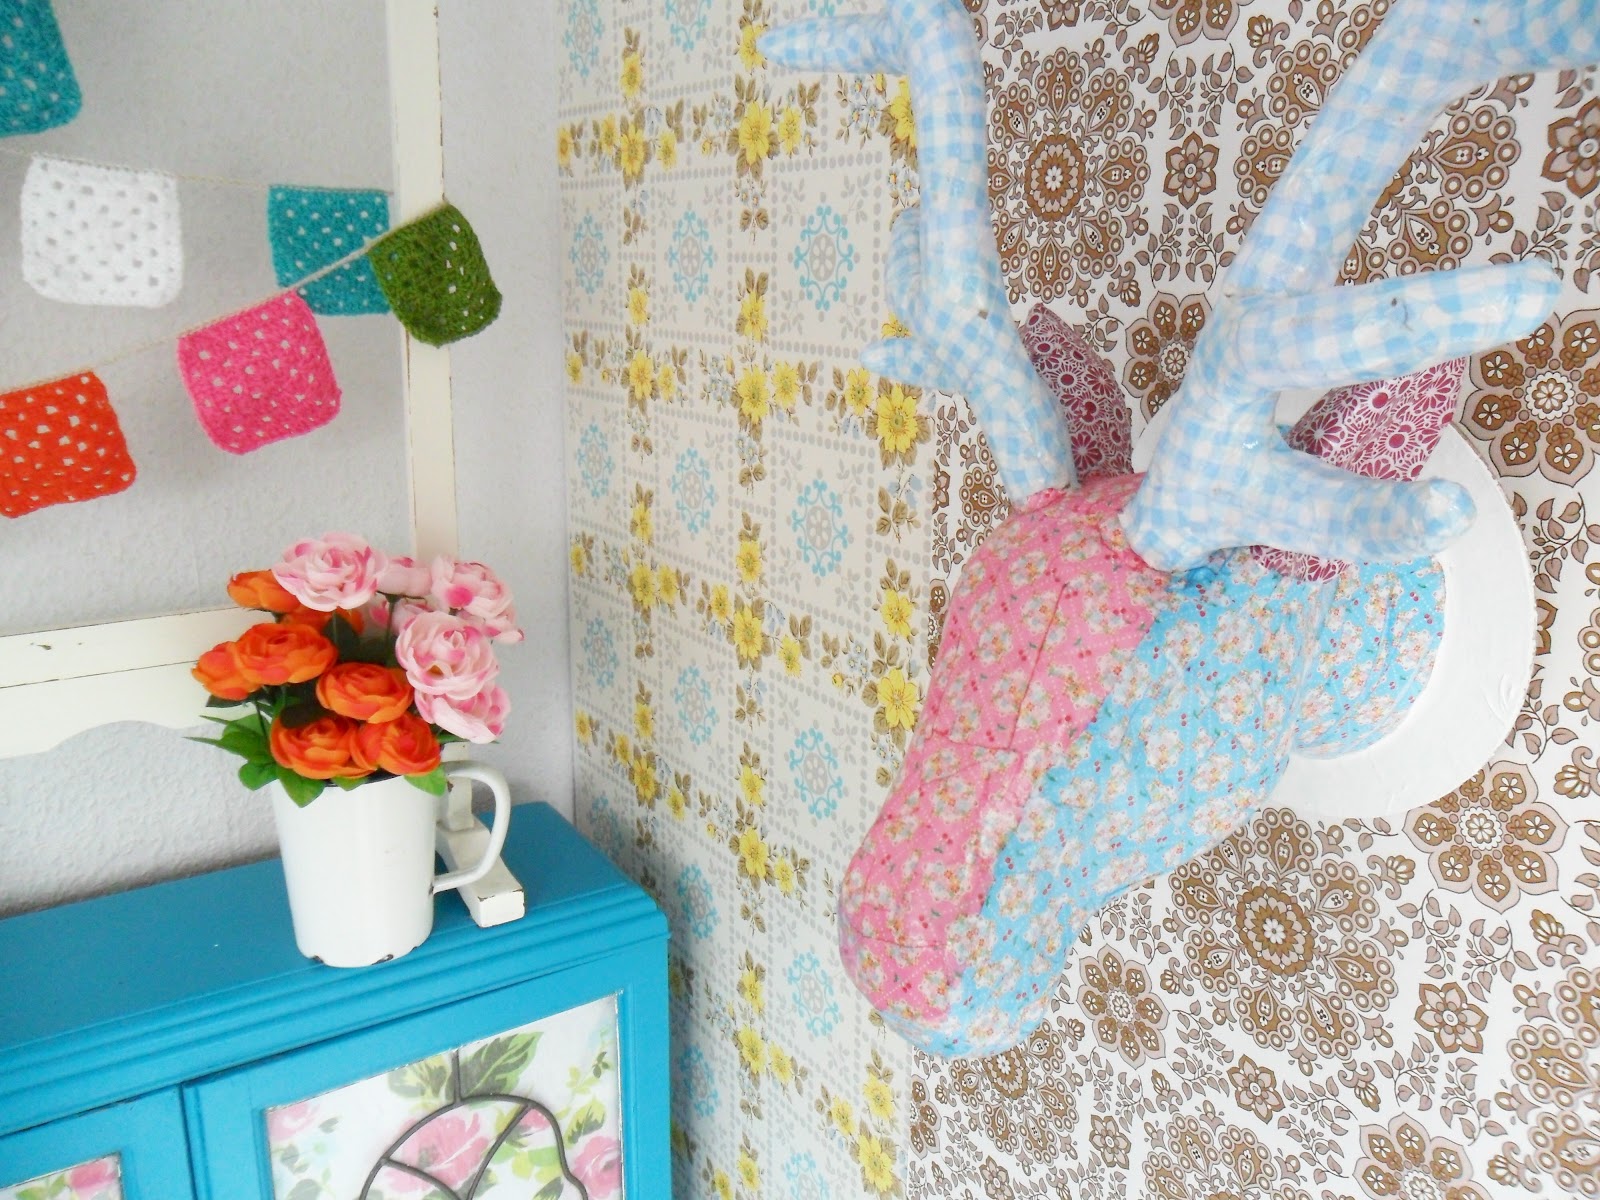
deer derek.........

derek overseeing a photo shoot
............one day when out shopping for crafting supplies ( trying to be very organised and starting to make christmas gifts ) derek appeared and found his way into my basket, I honestly am not sure how it happened...one minute I was talking to the assistant , she disappeared stating there was one hidden away in the store room...next minute my purse is considerably lighter (£££) 
and he is sitting on the car seat next to me :)


obviously before even taking off my coat...the p.v.a was mixed and the papers were out (derek was a brown paper model before I got my hands on him )
As usual I didn't plan...at first he was much paler with more retro papers.....no not quite right.....then he became this combination... 

I spy deerdre in the mirror eyeing up the new boy :)
he is great I love him, he reminds me of the Moose head from the Banana Splits....

but the colours aren't working, I am thinking of spraying him gold or just painting him white...or should he be left as he is ....he might grow on me ????

Thursday, 3 November 2011

spring cleaning.............


.....unfortunately not of the home cleaning kind (much to my family's disgust).....no this is spring cleaning my brain!.....I guess I am not the only one who sometimes gets into such a pickle with everything that it becomes impossible to get anything done...


so....with that I have decided to clear out all the stuff going round and round in my head, that wakes me up in the middle of the night and makes me realise halfway through a conversation that I haven't been listening to a word that's been said.....(this can be quite embarrassing.......)

my keep stash :)

A while ago I mentioned I felt a change was on its way....still not sure what it is yet but I am making a start to find out by having a big clear out....hence the piles of fabric....gulp...

shop stash :)
I am working my way through the stash and trying to only keep the ones I know I will use....I have spent all week chopping and folding and photographing and they will be going in the shop in the next few days :)
I have put some in little bundles as I thought they might be nice little christmas gifts for crafty types.....


and then with a bit more room in the shed..I might find a bit more room in my head........


x x x x